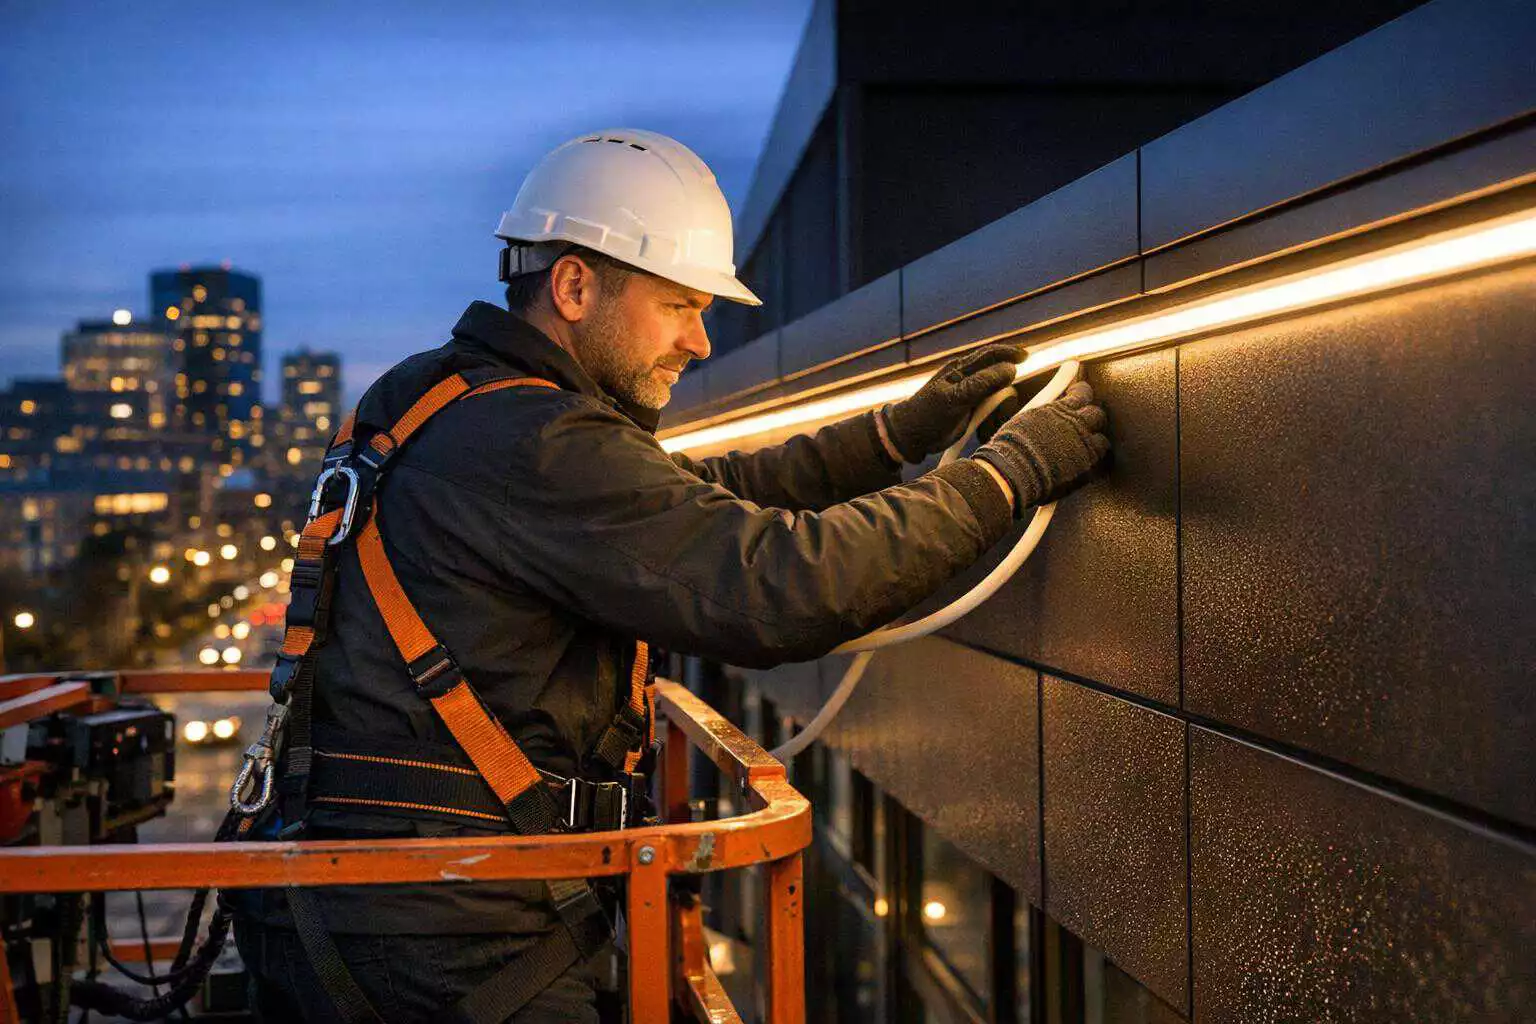

Last month, a contractor from Texas sent us photos of a hotel facade project. The LED neon flex was sagging between clips like a clothesline. The strip itself was fine — the LED neon flex installation was the problem.
We at NPHIS LED have shipped silicone neon flex to over 40 countries. And here’s an honest number from our after-sales records: roughly 70% of “product failure” claims we receive turn out to be installation errors, not defective strips.
So instead of writing another generic guide, we’re sharing what our engineers actually tell contractors during pre-project technical calls. If you’re an importer, wholesaler, or commercial contractor, this will save you real money on callbacks.
Table of Contents
Mounting Clips vs. Aluminum Channels: Which is Better for Your Project?
This is the #1 question we get from contractors. The honest answer: it depends on the surface, the climate, and the bend direction.
Here’s the comparison table we use internally when advising clients:
| Factor | Mounting Clips | Aluminum Channels |
|---|---|---|
| Installation Speed | Fast (approx. 30m/hour) | Slower (approx. 15m/hour) |
| Straight-Line Appearance | Fair — risk of waviness | Excellent — dead straight |
| Sagging Risk (Outdoor Heat) | Higher if spacing >30cm | Near zero — full support |
| Curved / Logo Shapes | Excellent for curves | Straight runs only |
| Material Cost per Meter | $0.15–$0.40 | $1.50–$3.50 |
| Best For | Signage, curved outlines | Facades, long straight runs |
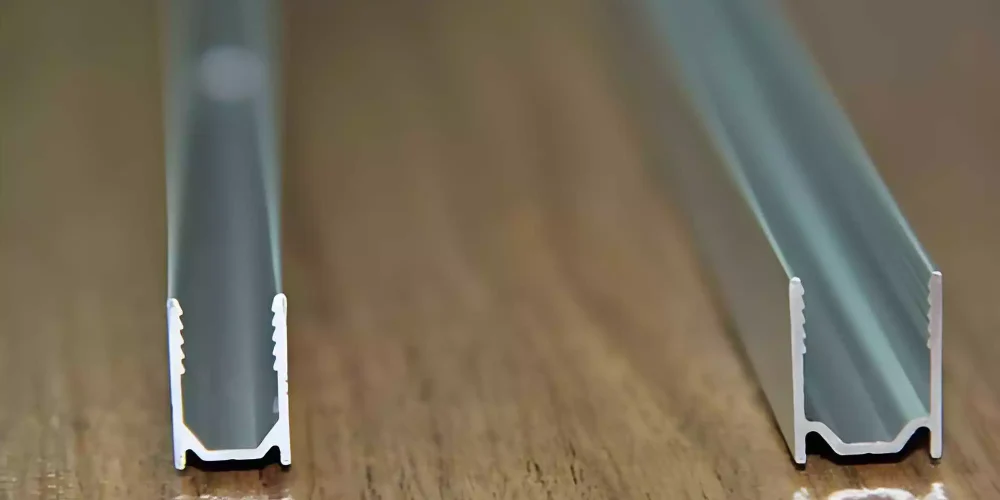
Our Factory Recommendation
For the mounting clips vs aluminum channels decision, we tell clients this simple rule:
- Straight runs over 3 meters on a facade? Use aluminum channels. Always.
- Curved signage, logos, or short accents? Clips work perfectly.
- Windy coastal or high-heat zones? Channels — no exceptions.
Why Clips Fail on Long Facade Runs
Silicone softens slightly in summer heat. On a south-facing wall at 60°C surface temperature, the strip gains flexibility. If your clips are spaced 40–50cm apart, gravity does the rest.
To prevent sagging, our spec sheet requires:
- Clip spacing of 15–20cm maximum for horizontal outdoor runs
- 10cm spacing near bends and corners
- Stainless steel screws (not adhesive backing) for any outdoor facade lighting project
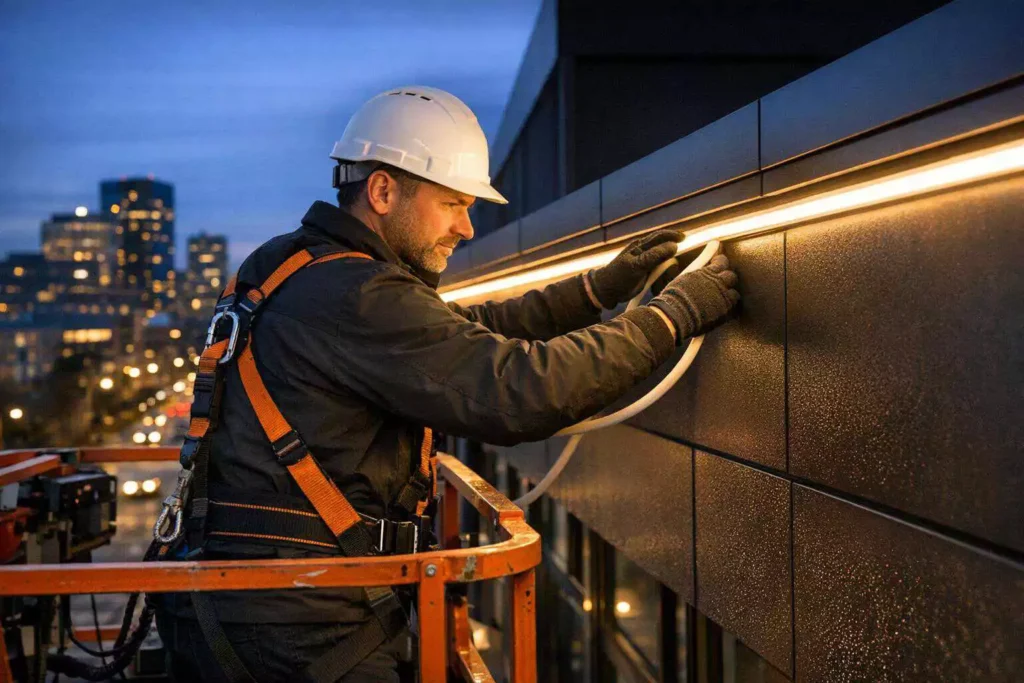
Step-by-Step LED Neon Flex Installation for Commercial Contractors
Here is the exact 4-step process from our installation manual. We’ve refined this after reviewing hundreds of project photos from our B2B partners.
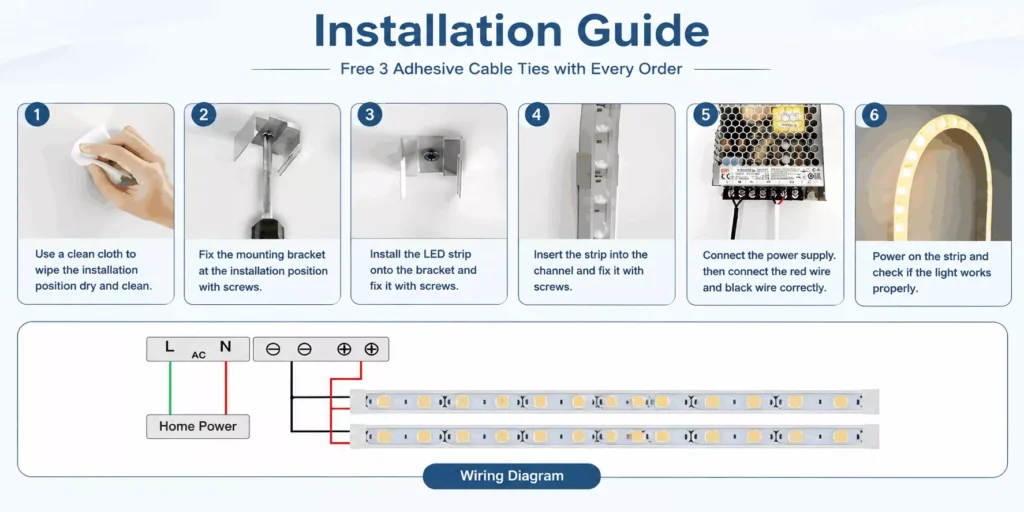
Step 1: Plan the Run and Test Before Mounting
Never install first and test later. We’ve seen contractors mount 80 meters of strip, then discover a voltage drop issue at meter 15.
Before mounting:
- Power up the entire reel on the ground for 30 minutes
- Check color consistency across all segments
- Confirm your power injection points — for 24V strips, inject power every 10 meters maximum
- Mark cutting points with tape (only cut at the factory-marked lines)
Step 2: Fix Clips or Channels to the Surface
For a proper silicone LED neon flex installation, the substrate matters:
- Concrete/brick: Drill, plug, and screw. Never rely on adhesive alone outdoors.
- Metal cladding: Self-tapping stainless screws + rubber washers to prevent galvanic corrosion.
- Channels: Pre-drill every 30cm. Use a laser level — a 2mm misalignment is invisible by day but glaring at night.
Step 3: Cutting and Sealing Silicone Neon Flex
This step causes the most warranty claims. Cutting and sealing silicone neon flex correctly is non-negotiable for outdoor work.
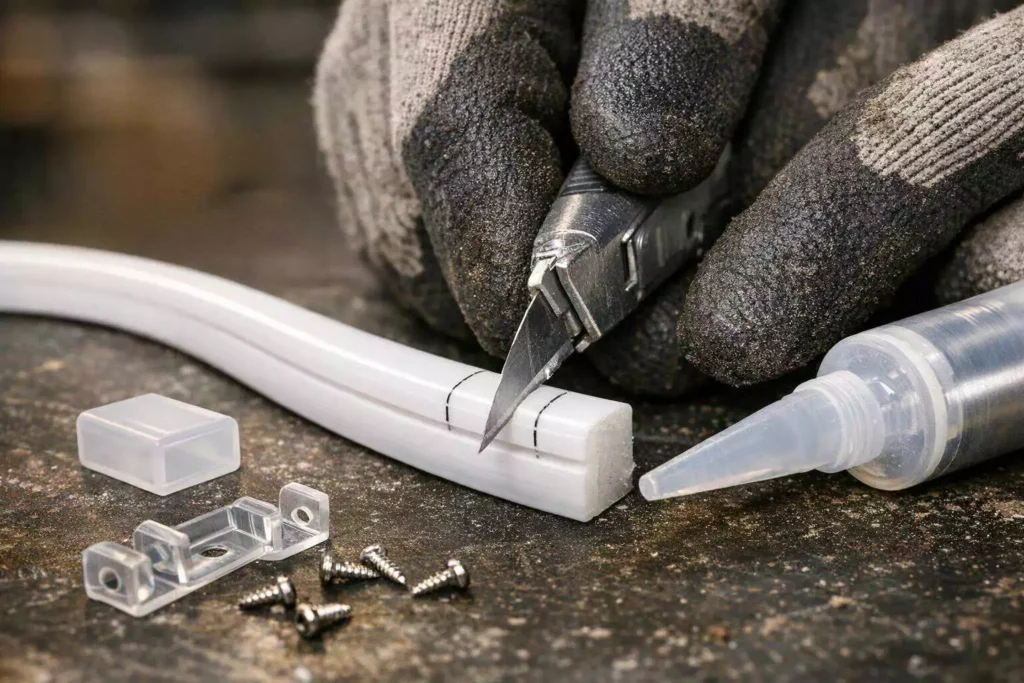
Our factory procedure:
- Cut only at the marked cut lines, using a sharp blade in one clean stroke
- Fill the end cap with neutral-cure silicone glue (acidic glue corrodes copper pads)
- Push the cap on, wipe excess, and let it cure at least 4 hours before power-on
- For IP67/IP68 sites, add a thin bead of glue around the cap seam
⚠️ Skipping the glue and just pressing the cap on is the single most common cause of water ingress we see in returned samples.
Step 4: Press In the Strip and Wire the Power
- Press the strip into clips/channels starting from the powered end
- Never stretch the strip — tension damages the internal PCB
- Respect the minimum bend diameter (typically 5cm for our silicone series; bending against the axis will crack solder joints)
- Seal all wire entry points, and house connections in IP-rated junction boxes per local electrical code (see NEC guidelines via NFPA for US projects)
Do you have any other questions for us?
Feel free to reach out for further inquiries or information.
Advanced Tips for DMX512 RGBW Neon Flex Installation
Dynamic facades are where good installers separate themselves from average ones. When a project calls for chasing effects or pixel control, we supply DMX512 RGBW neon flex ,and these strips demand extra care.
Signal Wiring Rules
- Keep DMX data cables away from AC power lines (minimum 30cm separation) to avoid signal interference
- Use shielded twisted-pair cable for data runs over 20 meters
- Terminate the last fixture with a 120Ω resistor — flickering at the end of long runs is almost always a missing terminator (the DMX512 standard is maintained by ESTA)
Addressing Before Mounting
Set and test DMX addresses on the ground. Reprogramming a controller is easy; re-accessing a strip 12 meters up a facade is not.
Power Budget
RGBW strips draw roughly double the current of single-color. Recalculate your voltage drop, and oversize drivers by 20% headroom. Undersized drivers running at 100% load fail early — we see this constantly.
Last year, we supplied 1,200 meters of DMX512 RGBW neon flex for a commercial complex facade in Dubai. The contractor pre-addressed everything on the ground following our wiring diagram — and finished 4 days ahead of schedule.
Common Installation Mistakes that Void Your Warranty
We honor our 3–5 year warranty. But these mistakes, documented in our claim reviews, will void it:
| Mistake | What Happens | % of Our Claims |
|---|---|---|
| Cutting outside marked lines | Severed circuit, dead segment | ~25% |
| Unsealed or dry-fitted end caps | Water ingress, corrosion, dead LEDs | ~30% |
| Bending below minimum diameter | Cracked solder joints, flickering | ~15% |
| Powering coiled strip on the reel | Heat buildup, LED degradation | ~10% |
| Wrong voltage / no drop calculation | Dim ends, driver failure | ~15% |
Two more that deserve a mention:
- Painting over the strip. Yes, this happens. Solvents attack silicone.
- Using acidic silicone sealant. It smells like vinegar — that’s acetic acid corroding your copper contacts.
Want to learn more about why silicone is more weather-resistant than PVC? Check out our previous articles: “Silicone vs. PVC LED Flexible Neon Lights” and our in-depth guide to Top Bend LED Neon Flex.
Conclusion & Call to Action
A successful commercial LED neon installation comes down to three things: the right mounting method, disciplined cutting and sealing, and correct power planning. Get these right, and a quality silicone strip will run 5+ years outdoors with zero callbacks.
At NPHIS LED, every project order ships with a project-specific installation drawing, matched clips or channels, and pre-tested reels. Planning a facade or signage project? Send us your drawings — our engineers will return a free installation plan and quote within 12 hours. 👉 Request a Quote & Free Sample
FAQs
❓️ How far apart should mounting clips be for LED neon flex?
For outdoor horizontal runs, space clips every 15–20cm (6–8 inches). Indoors, 30cm is acceptable. Tighter spacing near bends prevents sagging in summer heat.
❓️ Can I cut silicone LED neon flex to any length?
No. You can only cut at the factory-marked cut lines (typically every 2.5–10cm depending on voltage). Cutting elsewhere kills the segment permanently.
❓️ How do I seal the cut end of a neon flex strip for outdoor use?
Fill the end cap with neutral-cure silicone glue, press it on, and allow 4+ hours of curing before power-on. A dry-fitted cap will leak.
❓️ Why is my LED neon flex dimmer at the end of the run?
Voltage drop. For 24V strips, inject power every 10 meters maximum. Long single-feed runs always dim at the far end.
❓️ Do aluminum channels really prevent sagging better than clips?
Yes. Channels support the strip continuously along its full length, eliminating gravity sag on long straight facade runs — especially in hot climates.
❓️ What is the minimum bend radius for silicone neon flex?
Typically a 5cm diameter in the designed bending direction (top-bend or side-bend). Never bend against the axis — it cracks internal solder joints.
❓️ Why does my DMX512 neon flex flicker at the end of the line?
Usually a missing 120Ω terminating resistor or data cable running too close to AC power lines. Use shielded cable and always terminate the last unit.
❓️ Can LED neon flex be powered while still coiled on the reel?
Only briefly for testing (under 5 minutes). Extended coiled operation traps heat and permanently degrades the LEDs.
❓️ How long does silicone LED neon flex last outdoors?
Quality silicone neon flex lasts 50,000+ hours (5–10 years outdoors) with proper installation. Silicone resists UV and yellowing far better than PVC.
❓️ Does NPHIS LED provide installation accessories with bulk orders?
Yes. We supply matched mounting clips, aluminum channels, end caps, and sealing glue with every project order, plus a project-specific installation drawing.
Can’t find the asnwer you are looking for?
Write us a questionand we will be happy to answer it
Reference
- NFPA 70 (National Electrical Code) : https://www.nfpa.org/codes-and-standards/nfpa-70-standard-development/70
- ESTA Technical Standards Program: https://tsp.esta.org/tsp/documents/published_docs.php
- U.S. DOE Solid-State Lighting : https://www.energy.gov/eere/ssl/solid-state-lighting